How to Take Photos by Yourself
How to take Self Portrait Photos
Who takes your photos? A question I often get asked. I used to be a fashion blogger and those years I had a lot of people who took photos for me, I also took a lot of photos by myself. Today, however, most of my photos are self portraits, meaning I take them by myself.
I’ve been taking self-portrait photos for probably over 5 years now, and YES, I still feel weird when people walk pass or people see me take photos of myself. I don’t think it’s a feeling that will ever go away LOL. But I’ve learn to ignore that feeling.
With that said, I wanted to share some self portrait photo tips with you.
PHONE:
Here are some photos I’ve taken on my phone:

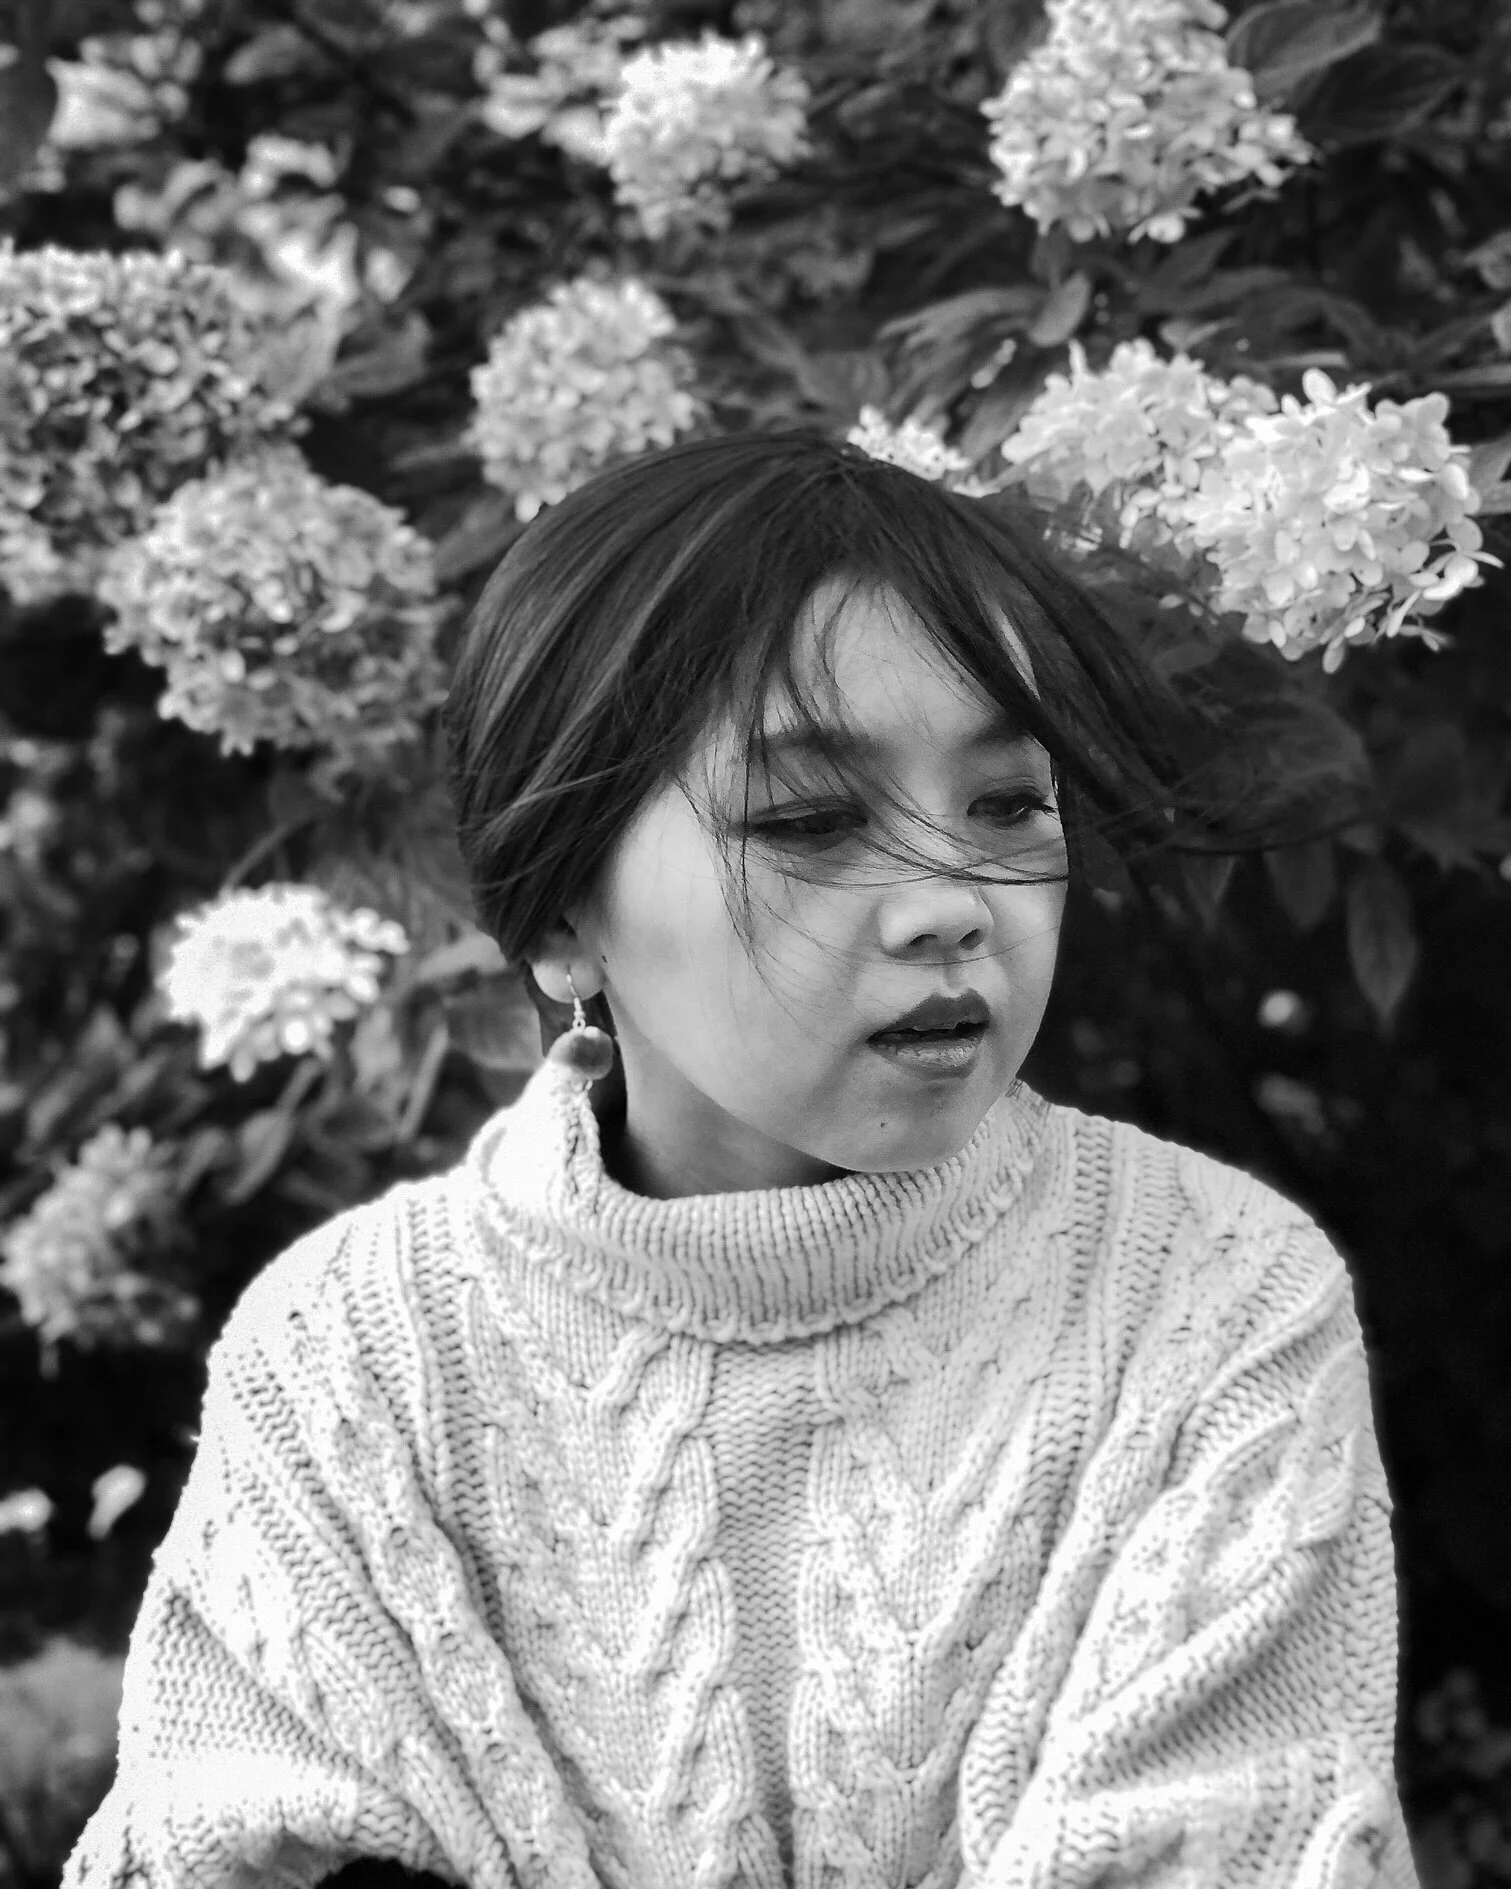

I would suggest getting a tripod and phone adapter. This will make taking photos a lot easier. But you can definitely still take photos without those things too. I used to take phone photos (and still occasionally do without the tripod).
Phone Self Portrait Photo Tips
Use the back camera, not the front camera. The back camera has better quality, so I suggest using it. Your photos will come out sharper and better.
Most phone cameras has the autofocus feature. This means when you move into frame it will refocus the camera so that you are in focus and not the background. The autofocus works for portrait modes too! (This is one feature I love about using my iphone to take photos).
Use the self timer
If available, use the multiple frame feature. This is helpful because you can move around and get a variety of various shots to choose from.
If you don’t have a tripod, find a place that you can set your phone on, so it won’t fall off. This will require TIME and PATIENCE! This will also mean you will have test out the angle and change accordingly which can be inconvenient but be patient, the photo will turn out!
If you are testing the angle of the camera, I suggest marking where you want to stand or where you will stand. This way you know how to adjust the camera accordingly and correctly.
DSLR:
Here are some photos I’ve taken on my Canon EOS-R camera.


If your camera doesn’t have Bluetooth:
Use the timer
Focus the camera on a point where you will be standing near or next to. This way you will be in focus and not the background.
What I’ve done is if there’s a pole or tree next to where I will be standing, I make sure the focus is on that tree, then shift the camera over to where I will actually be standing.
You can also use the shutter release button if it has the autofocus feature.
If your camera does have Bluetooth:
I suggest using the app if you have it. I’ve been using the Canon app to help take all my photos.
Use the same tips as mentioned above.
Other Tips:
Record yourself. Put the camera setting on video and record yourself in different poses. You can then go back and screenshot the poses that you like. This is helpful when it comes to movement poses like jumping, twirling, or dancing around.
Keep in mind that post-production (the editing process) can make a photo look that much better. If your self-portrait photo doesn’t come out as straight or as dark or light as you would like, those are things you can adjust in post-production, so don’t stress about that too much!
Here are the items I’ve used or I am currently using:
Tripod | Amazon Basics Tripod
Phone Tripod Mount | Tripod Camera Mount
Tripod adapter | Basic Adapter (The adapter usually comes with the tripod. It’s always good to have backup).
Canon T5i | Canon T5i Body Only (My old camera. I used this for 7 years before upgrading).
Canon EOS-RP | Canon EOS RP Body Only (My new camera. I’ve had it for only a few months. Full-frame mirrorless)
Lens 50mm | Canon 55mm F1.8 lens (My favorite affordable lens. Great for starters!)
Lens 24mm | Canon 24mm F2.8 Lens (I use these for a wider frame. Another affordable & great option for starters)
Lens adapter | Canon lens adapter
I hope that was helpful! I know there are a lot of different tips and tricks out there.